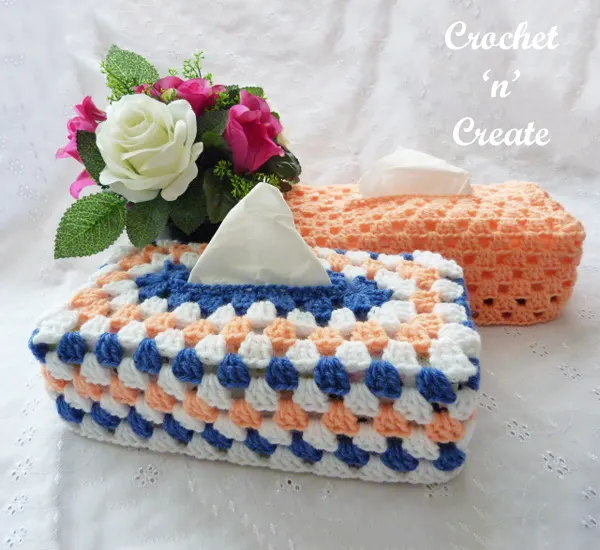
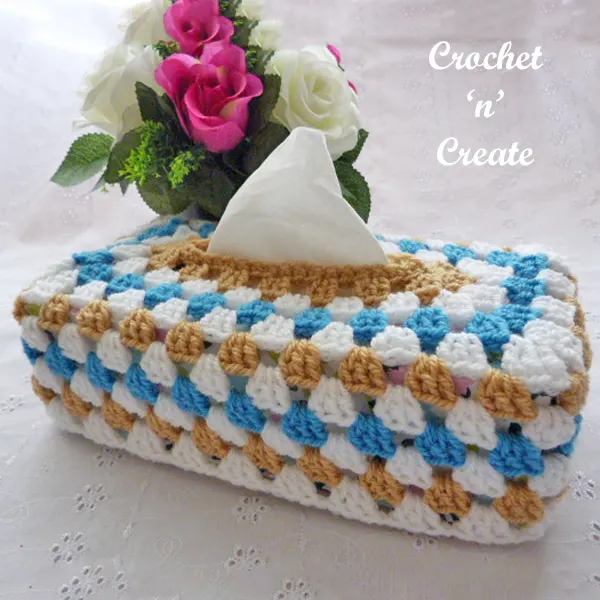
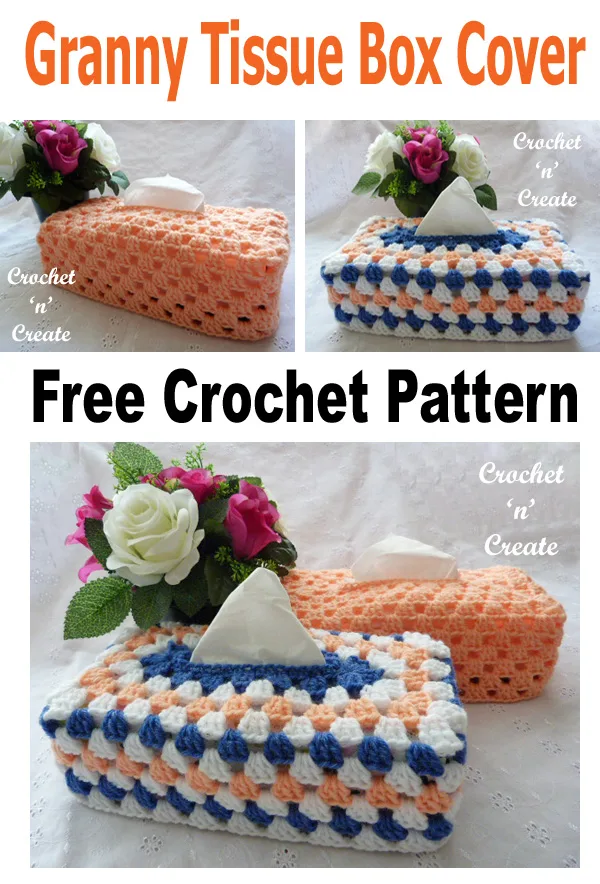
Crochet Granny Tissue Box Cover – This the second in my series of tissue box covers, my first tissue Cover was such a joy to design, so I thought I would continue with my granny stitch theme and add this pattern too.
Hope you enjoy.

Disclaimer: This site contains affiliate links. If you make a purchase after clicking on an affiliate link, I may receive a small commission (at no extra expense to you)

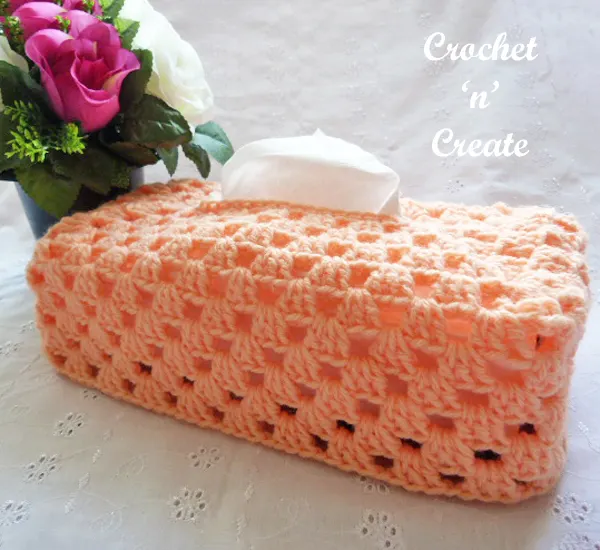
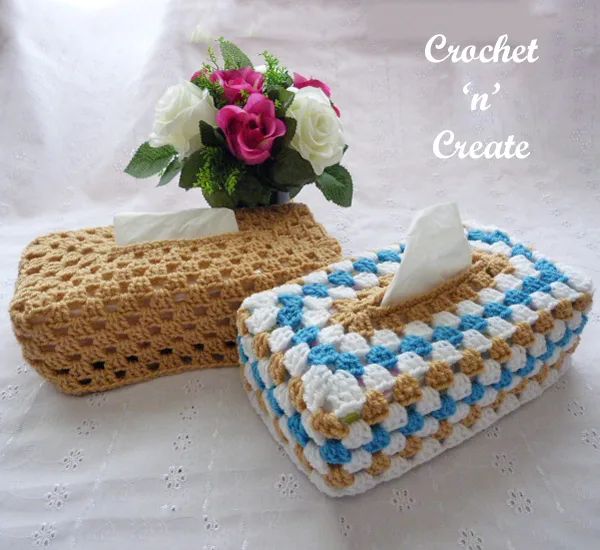
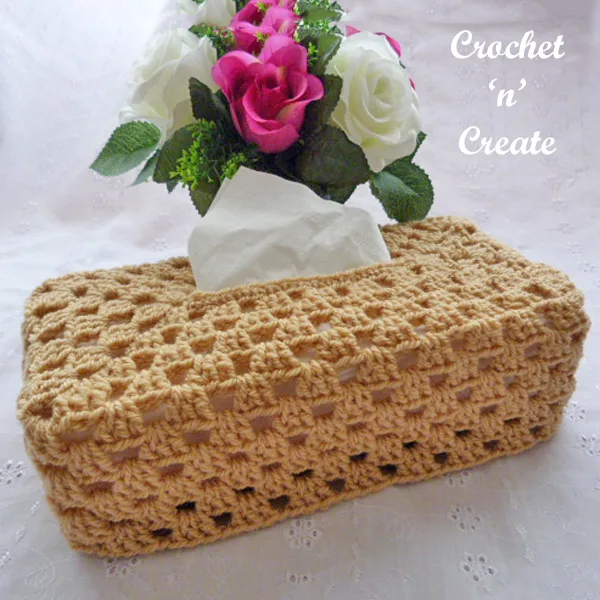
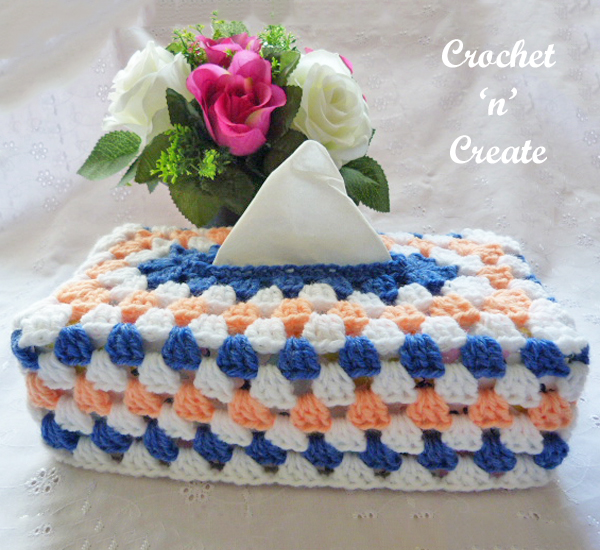
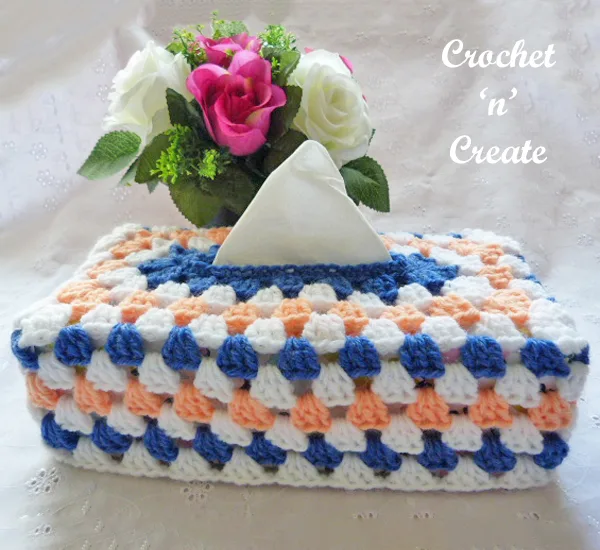
Ideal for putting in dining, lounge, bed or bathrooms, cheer up your tissue boxes with this lovely pattern.
I used a worsted weight #4 (aran for UK crocheters) in two colours, but can be made in one solid colour to match your decor.

See more free crochet patterns for your home:
- Picot Peaks Plant Pot Mat
- Zig Zag Lapghan
- Simple Household Cloth
- Organizer Basket
- Flower Pillow Cover
- Trinket Bowl

~ Pin this crochet breakfast coaster pattern to your Pinterest Boards ~

~ I would love to see what you make, tag me on Facebook @crochetncreate ~
Scroll down the page for the FREE pattern.
* * * *
Crochet Granny Tissue Box Cover UK
Pattern Number CNC134
Skill Level: Intermediate
Abbreviations UK
WS. Wrong Side
RS. Right Side
ch. Chain
dc. Double Crochet
tr. Treble Crochet
dtr. Double Treble Crochet
rpt. Repeat
ss. Slip Stitch
3ch counts as first tr
4ch counts as first dtr
Base of ch. Work into first stitch
Finished Size Approx: 9 x 4.5 x 2.7 (inches, W x D x H)
Materials
For great results it is always best to use the recommended yarn I have used approximately:-
Small amounts of Paintbox Simply DK Yarn in each of the 3 colours
5.00mm Clover Crochet Hook
TENSION – 6tr & 2 rows measures approx 1 inch
*********************************************************************
Top – Made in rounds without turning throughout.
With colour 1 make 36ch loosely, ss to first ch to form a ring.
1st Row – 1ch, 1dc into base of 1ch, 1dc into each ch to end, ss to first dc on beginning of row. (36dc)
2nd Row – 3ch, (2tr, 3ch, 3tr, 3ch, 3tr) into base of 3ch, 1ch, * miss 2dc, 3tr into next dc, 1ch, * rpt from * to * 4 more times, miss 2dc, (3tr, 3ch, 3tr, 3ch, 3tr) into next dc, 1ch, rpt from * to * to last 2dc, miss dc’s, ss to top of 3ch on beginning of row. Fasten off.
3rd Row – ss colour 2 to first 3ch space, make 3ch, (2tr, 3ch, 3tr) into same space, 1ch, (3tr, 3ch, 3tr) into next 3ch space, 1ch, * work 3tr, 1ch into each of next 6, 1ch spaces, (3tr, 3ch, 3tr) into next 3ch space, 1ch, (3tr, 3ch, 3tr) into next 3ch space, 1ch, work 3tr, 1ch into each of next 6, 1ch spaces, ss to top of 3ch on beginning of row. Fasten off.
4th Row – ss colour 3 to first 3ch space, make 3ch, (2tr, 3ch, 3tr) into same space, 1ch, 3tr into next 1ch space, 1ch, (3tr, 3ch, 3tr) into next 3ch space, 1ch, * work 3tr, 1ch into each of next 7, 1ch spaces, (3tr, 3ch, 3tr) into next 3ch space, 1ch, 3tr into next 1ch space, 1ch, (3tr, 3ch, 3tr) into next 3ch space, 1ch, * 3tr, 1ch into each of next 7, 1ch spaces, ss to top of 3ch on beginning of row. Fasten off.
5th Row – ss colour 2 to first 3ch space, make 4ch, (2dtr, 3ch, 3dtr) into same space, 1ch, 3tr, 1ch into each of next 2, 1ch spaces, (3dtr, 3ch, 3dtr) into next 3ch space, 1ch, * work 3tr, 1ch into each of next 8, 1ch spaces, (3dtr, 3ch, 3dtr) into next 3ch space, 1ch, 3tr, 1ch into each of next 2, 1ch spaces, (3dtr, 3ch, 3dtr) into next 3ch space, 1ch, * 3tr, 1ch into each of next 8, 1ch spaces, ss to top of 4ch on beginning of row. Fasten off.
Sides
6th Row – ss colour 1 to first 3ch space, 3ch, 2tr into same space, 1ch, work 3tr, 1ch into each ch space to end, ss to top of 3ch on beginning of row. Fasten off.
Starting with colour 2 and ss to a 1ch space, rpt 6th Row alternating colours 1, 2, & 3 as before until 11 rows have been worked in all from beginning. Fasten off.
Finishing – Weave in and trim off any loose ends of yarn.
USA format below:-
Crochet Granny Tissue Box Cover USA
Pattern Number CNC134
Skill Level: Intermediate
Abbreviations USA
WS. Wrong Side
RS. Right Side
ch. Chain
sc. Single Crochet
dc. Double Crochet
trc. Treble Crochet
rpt. Repeat
sl st. Slip Stitch
ch3 counts as first dc
ch4 counts as first trc
Base of ch. Work in first stitch
Finished Size Approx: 9 x 4.5 x 2.7 (inches, W x D x H)
Materials
For great results it is always best to use the recommended yarn, I have used:-
Small amounts of Lion Brand Pound Of Love Yarn in each of the 3 colors
GAUGE – 5dc & 2 rows measures approx 1 inch
*******************************************************************
Top – Made in rounds without turning throughout.
With color 1 ch36 loosely, sl st to first ch to form a ring.
1st Row – ch1, 1sc in base of ch1, 1sc in each ch to end, sl st to first sc on beginning of row. (36sc)
2nd Row – ch3, (2dc, ch3, 3dc, ch3, 3dc) in base of ch3, ch1, * skip 2sc, 3dc in next sc, ch1, * rpt from * to * 4 more times, skip 2sc, (3dc, ch3, 3dc, ch3, 3dc) in next sc, ch1, rpt from * to * to last 2sc, skip sc’s, sl st to top of ch3 on beginning of row. Fasten off.
3rd Row – sl st color 2 to first ch3 space, ch3, (2dc, ch3, 3dc) in same space, ch1, (3dc, ch3, 3dc) in next ch3 space, ch1, * work 3dc, ch1 in each of next 6, ch1 spaces, (3dc, ch3, 3dc) in next ch3 space, ch1, (3dc, ch3, 3dc) in next ch3 space, ch1, work 3dc, ch1 in each of next 6, ch1 spaces, sl st to top of ch3 on beginning of row. Fasten off.
4th Row – sl st color 3 to first ch3 space, ch3, (2dc, ch3, 3dc) in same space, ch1, 3dc in next ch1 space, ch1, (3dc, ch3, 3dc) in next ch3 space, ch1, * work 3dc, ch1 in each of next 7, ch1 spaces, (3dc, ch3, 3dc) in next ch3 space, ch1, 3dc in next ch1 space, ch1, (3dc, ch3, 3dc) in next ch3 space, ch1, * 3dc, ch1 in each of next 7, ch1 spaces, sl st to top of ch3 on beginning of row. Fasten off.
5th Row – sl st color 2 to first ch3 space, ch4, (2trc, ch3, 3trc) in same space, ch1, 3dc, ch1 in each of next 2, ch1 spaces, (3trc, ch3, 3trc) in next ch3 space, ch1, * work 3dc, ch1 in each of next 8, ch1 spaces, (3trc, ch3, 3trc) in next ch3 space, ch1, 3dc, ch1 in each of next 2, ch1 spaces, (3trc, ch3, 3trc) in next ch3 space, ch1, * 3dc, ch1 in each of next 8, ch1 spaces, sl st to top of ch4 on beginning of row. Fasten off.
Sides
6th Row – sl st color 1 to first ch3 space, ch3, 2dc in same space, ch1, work 3dc, ch1 in each ch space to end, sl st to top of ch3 on the beginning of row. Fasten off.
Starting with color 2, sl st to a ch1 space, rpt 6th Row alternating colors 1, 2 & 3 as before until 11 rows have been worked in all from beginning. Fasten off.
Finishing – Weave in and trim off any loose ends of yarn.

Speak to you soon.


********************************************************************
All pattern sizing, yarn weights, gauges etc on this website are approximate as everybody crochets differently. Every effort is made to ensure this pattern is correct, but I am only human so mistakes may be made, if you find one please let me know by e-mail on crochetncreate@btinternet.com
The written instructions and pictures for this lovely crochet granny tissue box cover pattern are copyrighted to crochet ‘n’ create © 2018.
You are welcome to sell the finished products made from the free crochet granny tissue box cover pattern, I just ask that you use your own pictures and put a link back to crochet ‘n’ create.
If you wish to tell your friends and followers about this pattern, please only use a direct link to the pattern page on crochet ‘n’ create. DO NOT share the written instructions for this crochet granny tissue box cover pattern.