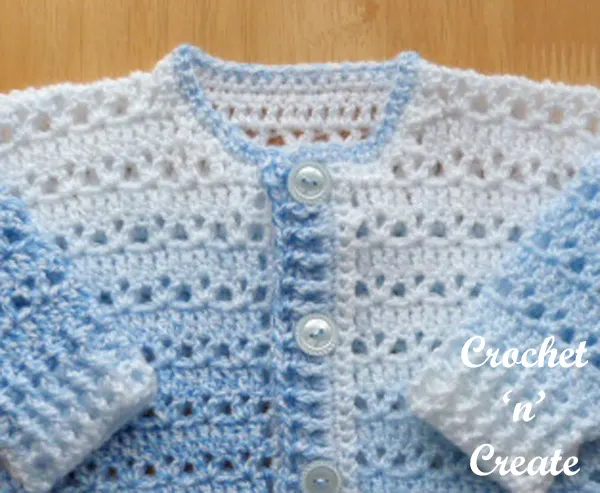
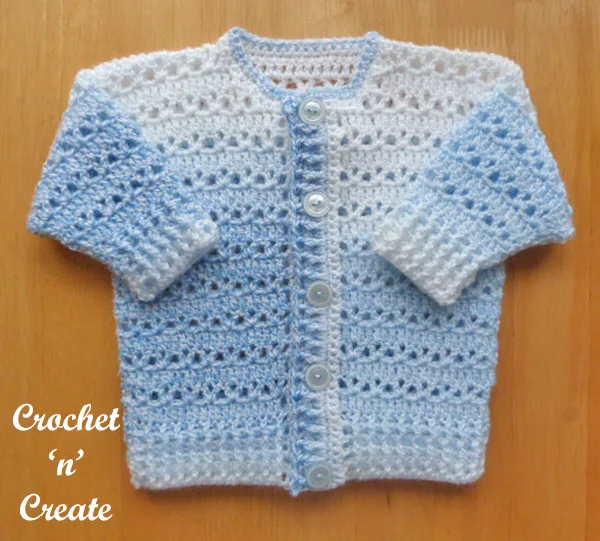
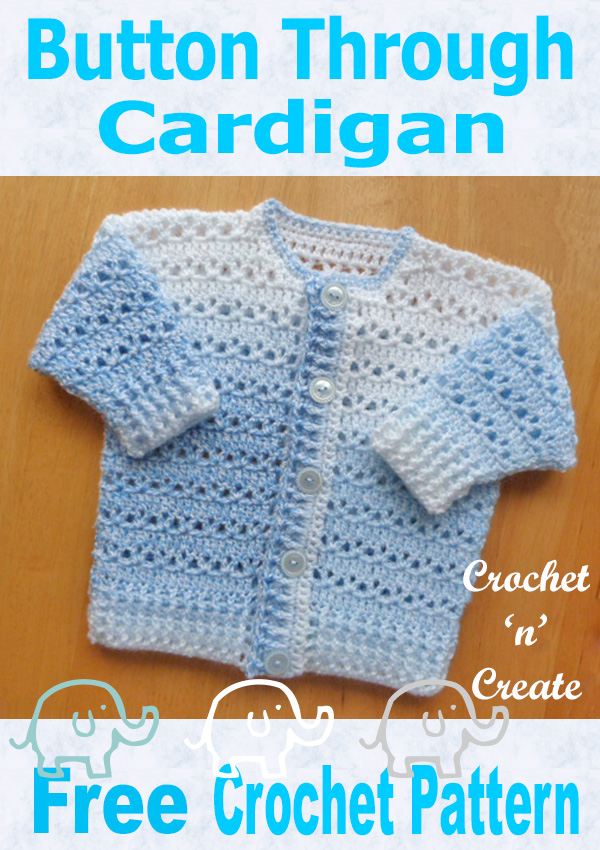
Free Baby Crochet Pattern-Button Cardigan – Designed with just a 2 row repeat of V stitch and double crochets and with a ribbed edging.
This simple pattern has been made in a variegated yarn using 4.00mm and 4.50mm crochet hooks.


I made my sample cardigan in King Cole Melody DK yarn in the color Blueberry.

~ purchase an (advert free) PDF of this
crochet button cardigan pattern from: ~
my crochetbabypatterns Shop

Please can you help to support my patterns by sharing this free baby crochet pattern-Button Cardigan on your Facebook and Pinterest
Find all my FREE crochet patterns HERE
*************************************************
Free Baby Crochet Pattern-Button Cardigan
Abbreviations
WS. Wrong Side
RS. Right Side
sc. Single Crochet
dc. Double Crochet
rpt. Repeat
sl st. Slip Stitch
Inc. Increase
vst. (1dc, ch1, 1dc) in same space or stitch.
fpdc.
Work dc around front post of the dc on row below.
bpdc.
Work dc around back post of the dc on row below.
Size to fit approx:- 18” chest 3 – 6 month baby
Finished length from shoulder approx 10.5 inches
Sleeve length approx 5 inches
Materials
For great results it is always best to use the recommended yarn I have used:-
100 grams of King Cole Melody DK yarn
4.00mm & 4.50mm Clover Crochet Hooks, 5 small buttons
GAUGE – 9dc and 5 Rows of dc measures approx 2 inches x 2 inches
******************************************************************
CARDI (Back) – With 4.00mm hook ch50, 1dc in 4th ch from hook, 1dc in each ch to end. (47dc + ch3)
Next Row – ch3, * 1fpdc in next dc, 1bpdc in next dc, * (see the abbrev) rpt from * to * to end, 1dc in top of ch3. Turn. Rpt last row 3 more times. Turn.
Next Row (RS) – ch3, 1dc in each dc to end, 1dc in top of ch3. Turn. (47dc + ch3)
Next Row – ch3, skip first dc, * 1vst (see abbrev) in next dc, skip 2dc, * rpt from * to * to last 2dc and ch3, skip 2dc, 1dc in top of ch3. Turn. (15vst)
Row 1 – ch3, 1dc in each dc and ch space to end. Turn. (46dc + ch3)
Row 2 – ch3, skip 1dc, * 1vst in next dc, skip 2dc, * rpt from * to * to last dc and ch3, skip 1dc, 1dc in top of ch3. Turn. (15vst)
The last 2 rows form the pattern, rpt until work measures approx 10.5 inches from the beginning or 10 complete patterns have been worked, finishing on a Row 1 (dc row). Fasten off.
Right Front – ** With 4.00mm hook ch24, 1dc in 4th ch from hook, 1dc in each ch to end. Turn. (21dc + ch3)
Next Row – ch3, * 1fpdc in next dc, 1bpdc in next dc, * rpt from * to * to end, 1dc in top of ch3. Turn.
Rpt last row 3 more times. Turn.
Next Row (RS) – ch3, 1dc in each dc to end, 1dc in top of ch3. Turn. (21dc + ch3)
Next Row – ch3, skip 1dc, * 1vst in next dc, skip 2dc, * rpt from * to * to last 3dc and ch3, skip 2dc, 1vst in next dc, 1dc in top of ch3. Turn. (7vst)
Row 1 – ch3, 1dc in each dc and ch space to end, 1dc in top of ch3. Turn. (22dc + ch3)
Row 2 – ch3, skip 1dc, * 1vst in next dc, skip 2dc, * rpt from * to * to last dc and ch3, skip 1dc, 1dc in top of ch3. Turn. (7vst)
The last 2 rows form the pattern, rpt until work measures approx 8.5 inches from the beginning or 8 complete patterns have been worked, finishing on a Row 1 (dc row). Turn. **
Shape Neck – Work pattern Row 2 to last 4dc and ch3, skip 1dc, 1dc in next dc. Turn. (6vst)
Next Row – sl st to ch1 space of vst, ch3, 1dc in each dc and ch space to end. Turn. (17dc + ch3)
Next Row – Work pattern Row 2 to last 2dc and ch3, 1dc in next dc. Turn. (5vst)
Next Row – ch3, 1dc in each dc and ch space to end, 1dc in top of ch3. Fasten off. (16dc + ch3)
Left Front – Work from ** to ** on Right front.
Shape Neck – sl st over 4dc, ch3, skip 1dc, * 1vst in next dc, skip 2dc, * rpt from * to * 1dc and ch3, skip 1dc, 1dc in top of ch3. Turn. (6vst)
Next Row – ch3, 1dc in each dc and ch space to last vst and ch3, 1dc in dc, 1dc in ch space of vst. Turn. (17dc + ch3)
Next Row – sl st over next 3dc, ch3, 1vst in next dc, continue with pattern Row 2 as set to end, 1dc in top of ch3. Turn. (5vst)
Next Row – ch3, 1dc in each dc and ch space to end, 1dc in top of ch3. Fasten off. (16dc + ch3)
Sleeves x 2 – With 4.00mm hook, ch30, 1dc in 4th ch from hook, 1dc in each ch to end. Turn. (27dc + ch3)
Next Row – ch3, * 1fpdc in next dc, 1bpdc in next dc, * rpt from * to * to end. Turn. Rpt last row 3 more times. Turn.
Next Row – (Inc) ch3, 1dc in base of ch3, 1dc in each dc to end, 2dc in top of ch3. Turn. (29dc + ch3)
Next Row – (Inc) ch3, 1dc in base of ch3, work pattern Row 2 to last 2dc and ch3, skip 2dc, 2dc in top of ch3. Turn. (9vst)
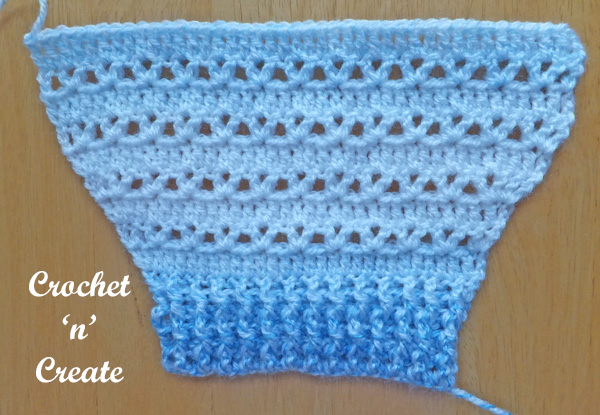
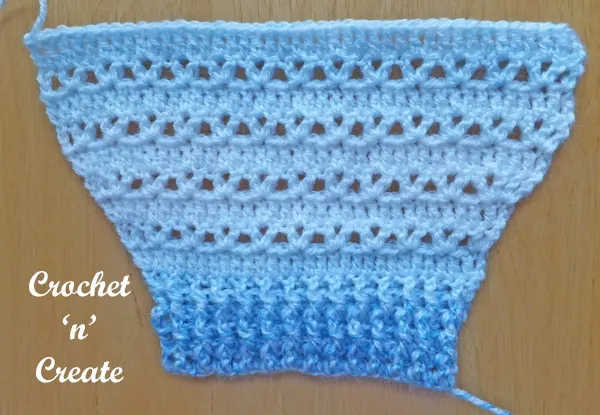
Increase 1dc each end of every row by working 1dc in the base of ch3 and 2dc in the top of ch3 at the end of the row as you go, keep continuity of the pattern as it’s set, working pattern Rows 1 & 2 as before until 2 complete patterns have been worked in all.
Rpt Pattern Row 1 once. (see pic below)
Next Row – ch3, * 1vst in next dc, skip 2dc, * rpt from * to * to last 3dc and ch3, skip 2dc, 1vst in next dc, 1dc in top of ch3. Turn. (13vst)
Work pattern Row 1 once. (40dc + ch3)
Next Row – ch3, skip 1dc, 1vst in next dc, work pattern Row 2 to last dc and ch3, skip 1dc, 1dc in top of ch3. Turn.
Work pattern Row 1 once. Fasten off.
Work now measures approx 5.5” from beginning, 4, vst & 5dc rows have been worked in all.
Join shoulder seams by sl st or over sewing together, fold sleeves in half length ways, then placing folds to the shoulder seams, sl st or over sew sleeves in position. sl st or over sew the side and sleeve seams together.
Front Bands – Starting with WS facing on lower edge of right front. Using 4.00mm hook, work ch1, work 2sc in each row end evenly up front to neck edge, 3sc in corner, work 12sc up side of neck, 15sc along back of neck, 12sc along second side of neck to corner, 3sc in corner, work 2sc in each row end evenly down second front edge. Turn.
Starting with ch1, work one more row in sc around coat, working 3sc in corners. Turn.
Next Row – Change to a 4.50mm hook, working up the front edge towards corner, work ch3, 1dc in each sc to corner, ch1 working along the side of the dc you just worked, work 2sc in side of dc, 1sc in each sc around neck to next corner, ch3, working down front edge, work 1dc in each sc to end. Turn.
Next Row – ch3, * 1fpdc in next dc, 1bpdc in next dc, * rpt from * to * to neck edge, 1dc in top of ch3. Fasten off.
Starting from neck edge and working downwards, work opposite front band the same. Fasten off.
Finishing – Sew in and tie off any loose ends of yarn, sew 5 buttons evenly placed along front band, use holes in dc’s as buttonholes on opposite band.
Hope you enjoy this free baby crochet pattern-button cardigan.
![]()
![]()

All pattern sizing, yarn weights, gauges etc on this website are approx as everybody crochets differently. Every effort is made to ensure this free baby crochet pattern-button cardigan is correct, but I am only human so mistakes may be made, if you find one please let me know by e-mail on crochetncreate@btinternet.com
The written instructions and pictures for this free baby crochet pattern-button cardigan are copyrighted to crochet ‘n’ create © 2018.
You are welcome to sell the finished products made from the free baby crochet pattern-button cardigan, I just ask that you please use your own pictures and put a link back to crochet ‘n’ create.
If you wish to tell your friends and followers about this pattern, please only use a direct link to the pattern page on crochet ‘n’ create.
DO NOT share the written instructions for this free baby crochet pattern-button cardigan.
free baby crochet pattern-button cardigan