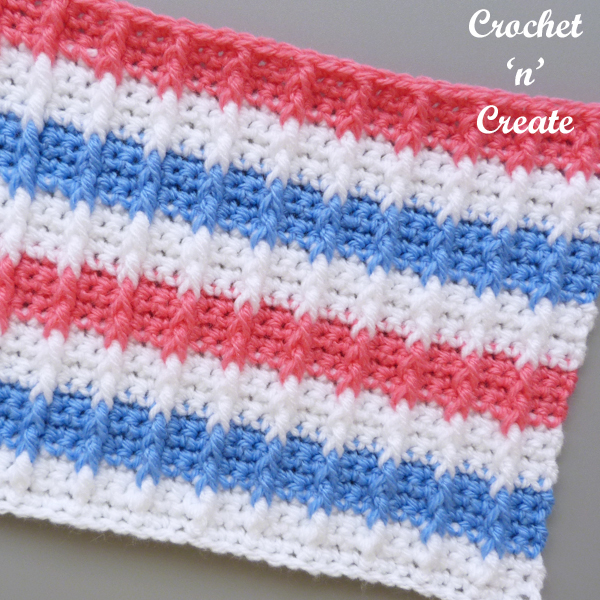
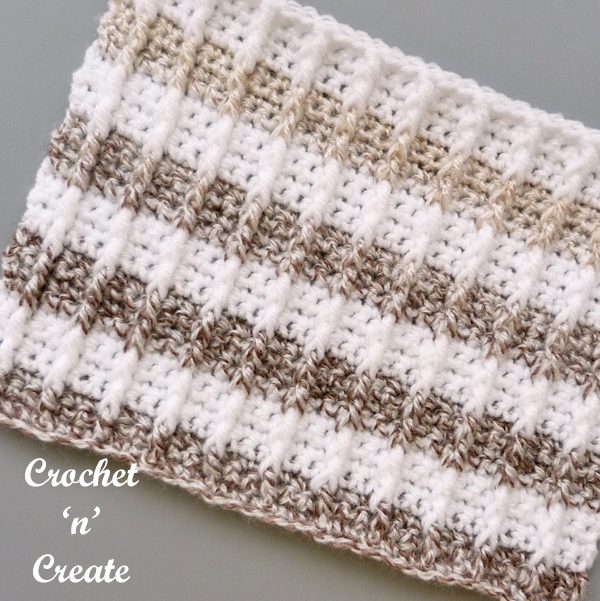
Crochet Bar Stitch Tutorial – The stitch is super simple, but creates a nice vertical texture, it is a lovely design to crochet baby blankets with while watching TV, have you tried my rib baby blanket.
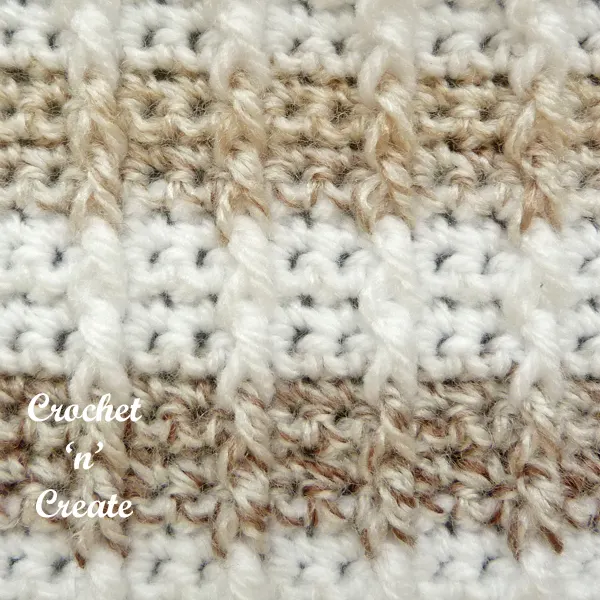
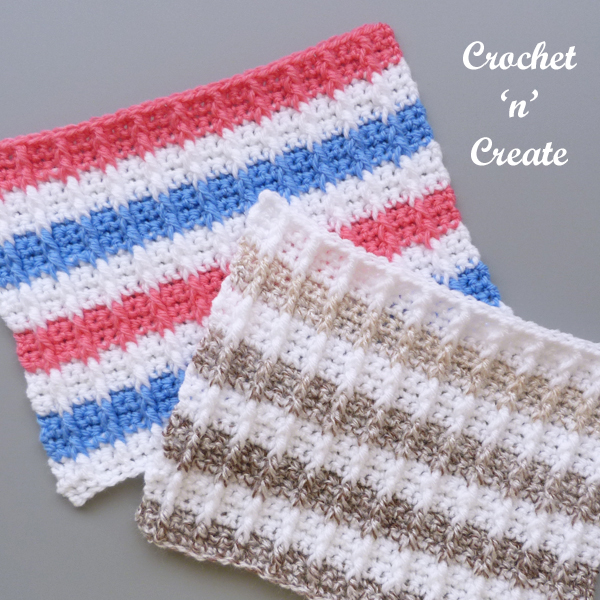
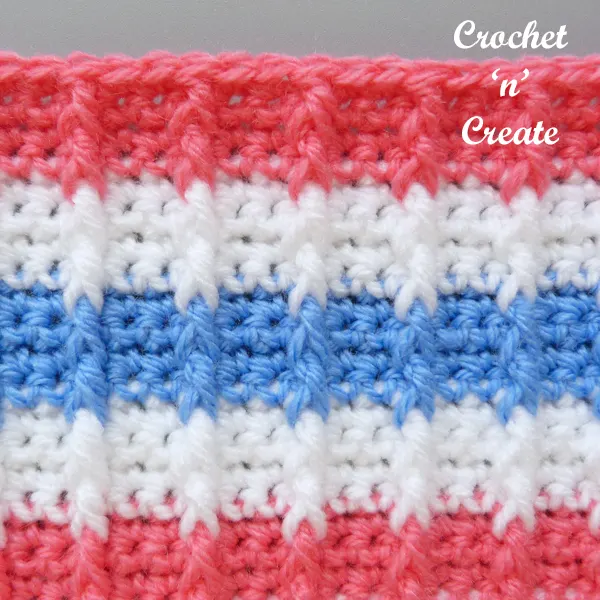
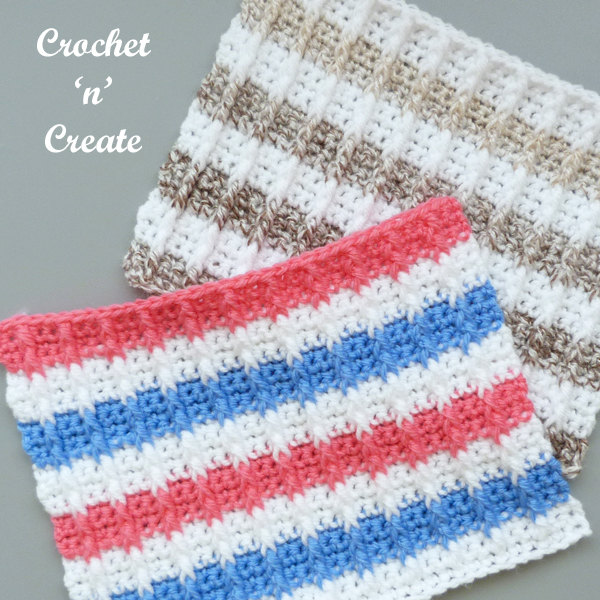
Use different colour blocks with solid colours or pretty variegates.

Disclaimer: This site contains affiliate links. If you make a purchase after clicking on an affiliate link, I may receive a small commission (at no extra expense to you)

It can be crocheted in any ply, I have used King Cole Comfort DK (light worsted #3 for USA) yarn and a 4.50mm hook for the samples, for blankets I would suggest a #4 worsted (Aran) yarn and larger hook size.

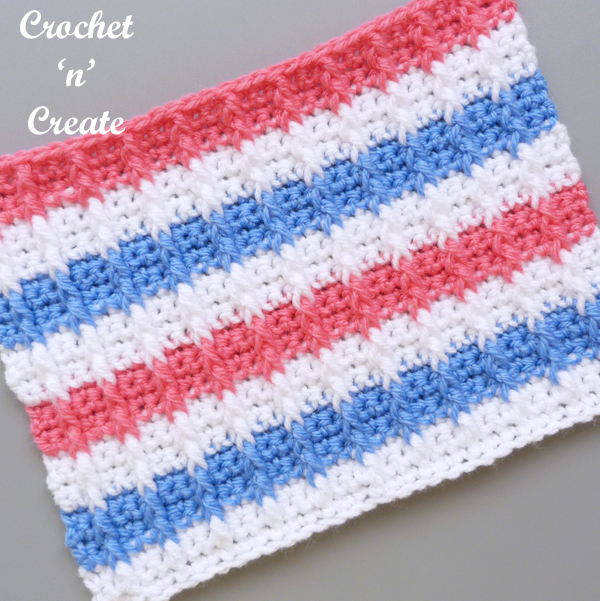
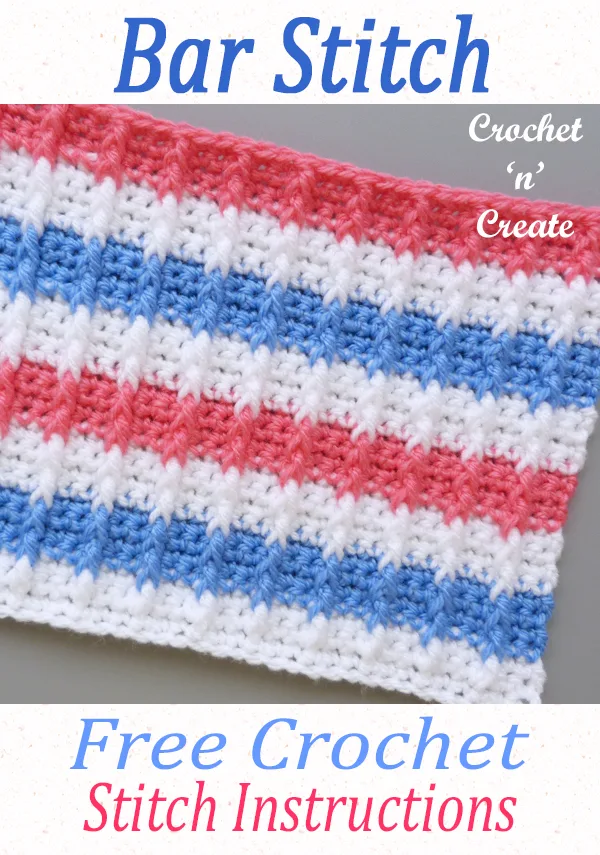
The finished effect produces a close pattern with vertical bars coming down the front of your work. The back will be a smooth look single crochet (dc for UK) stitch.

~ add this stitch pattern to your queue on: ~
Ravelry

~ Pin this stitch to your Pinterest Boards
and share on Facebook ~

Crochet Bar Stitch Tutorial UK
Abbreviations UK
ch. Chain
dc. Double Crochet
tr. Treble Crochet
rpt. Repeat
fptr. Front Post Treble Crochet
Work tr around the front post of the stitch
Base of ch. Work in first stitch
*********************************************
Scroll down the page for the USA format
UK INSTRUCTIONS:
Made in multiples of 3.
I started with a chain length of 36, (RS) 1dc into 2nd ch from hook, 1dc into each ch to end. Turn. (35dc)
2nd Row – 1ch, 1dc into stitch at base of 1ch, 1dc into each dc to end. Turn.
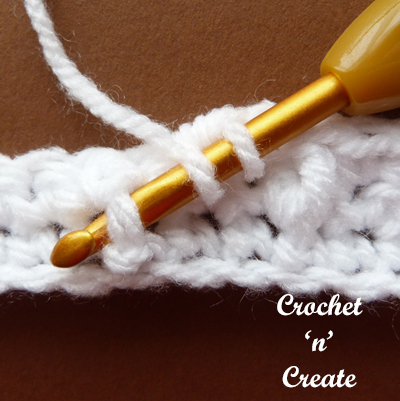
3rd Row – 1ch, 1dc into stitch at base of 1ch, 1dc into next dc, work fptr around dc on 2 rows below (see pic), * 1dc into each of next 2dc, fptr around dc 2 rows below, * rpt from * to * until last 2dc, work 1dc into each dc. Turn. Fasten off.

Join in colour 2.
4th Row – 1ch, 1dc into stitch at base of 1ch, 1dc into each stitch to end. Turn.
5th Row – 1ch, 1dc into stitch at base of 1ch, 1dc into next dc, work fptr around tr on row below, * 1dc into each of next 2dc, fptr around tr on row below, * rpt from * to * to last 2dc, 1dc into each dc. Turn.
Rpt 4th & 5th Rows until required length, changing colours every four rows.
Add it to your bookmarks on Grow!
USA format below:-
More free crochet tutorials for stitches.

Crochet Bar Stitch Tutorial USA
Abbreviations USA
ch. Chain
sc. Single Crochet
dc. Double Crochet
rpt. Repeat
fpdc. Front Post Double Crochet
Work dc around the front post of the stitch
Base of ch. Work in first stitch
*********************************************
USA INSTRUCTIONS:
Made in multiples of 3.
I started with a chain length of 36, (RS) 1sc in 2nd ch from hook, 1sc in each ch to end. Turn. (35sc)
2nd Row – ch1, 1sc in stitch at base of ch1, 1sc in each sc to end. Turn.
3rd Row – ch1, 1sc in stitch at base of ch1, 1sc in next sc, work fpdc around sc on 2 rows below (see pic), * 1sc in each of next 2sc, fpdc around sc 2 rows below, * rpt from * to * until last 2sc, work 1sc in each sc. Turn. Fasten off.
Join in colour 2.
4th Row – ch1, 1sc in stitch at base of ch1, 1sc in each stitch to end. Turn.
5th Row – ch1, 1sc in stitch at base of ch1, 1sc in next sc, work fpdc around dc on row below, * 1sc in each of next 2sc, fpdc around dc on row below, * rpt from * to * to last 2sc, 1sc in each sc. Turn.
Rpt 4th & 5th Rows until required length, changing colors every four rows.

Every effort is made to ensure the free crochet patterns are correct, but I am only human so mistakes may be made, if you find one please let me know by e-mail on crochetncreate@btinternet.com
The pictures for this free crochet bar stitch tutorial are copyrighted to crochet ‘n’ create © 2021. You are welcome to sell any finished products made from the free crochet bar stitch tutorial, I just ask that you please use your own pictures and put a link back to crochet ‘n’ create.
* * * * * * * * * * * * * * * * * * * * * * * * * *
To PRINT the written instructions only, highlight by clicking at the start of the pattern, hold the mouse down, scroll down and release at the end of the pattern.
Go to FILE, PRINT, (usually top left of browser) when your printer box appears choose selection in the page range.
OR
The easiest way is to copy your selection and paste into a text program (ie, word, notepad etc) it may need tidying up, then print.