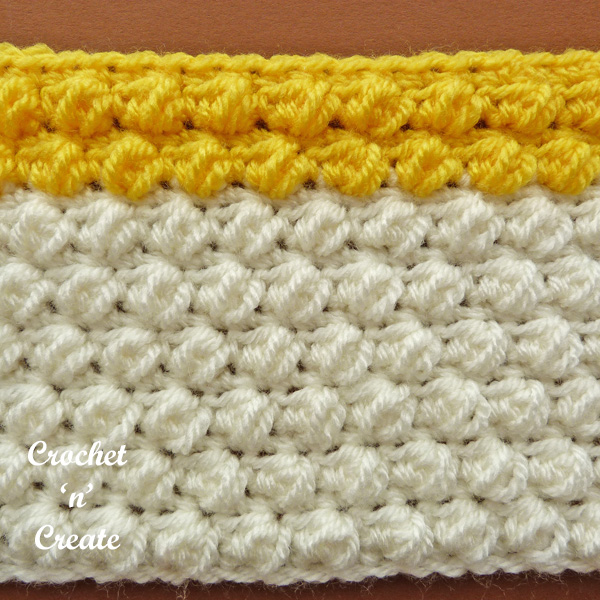
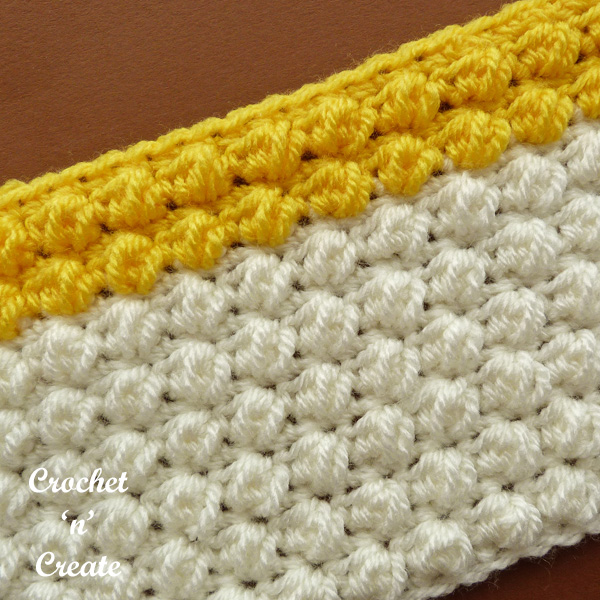
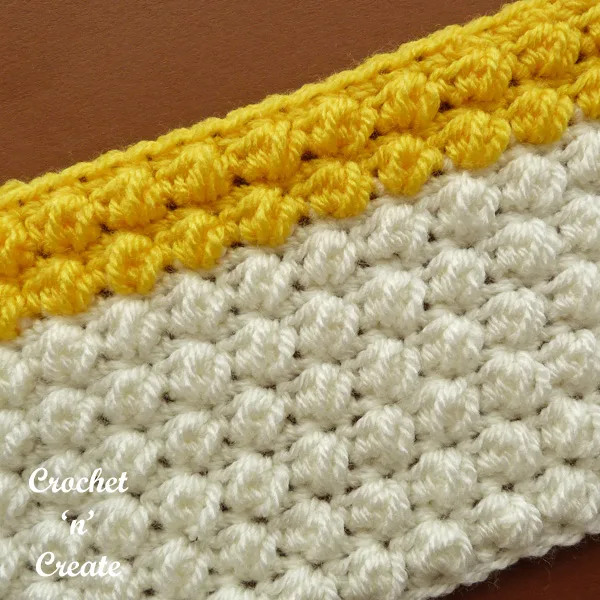
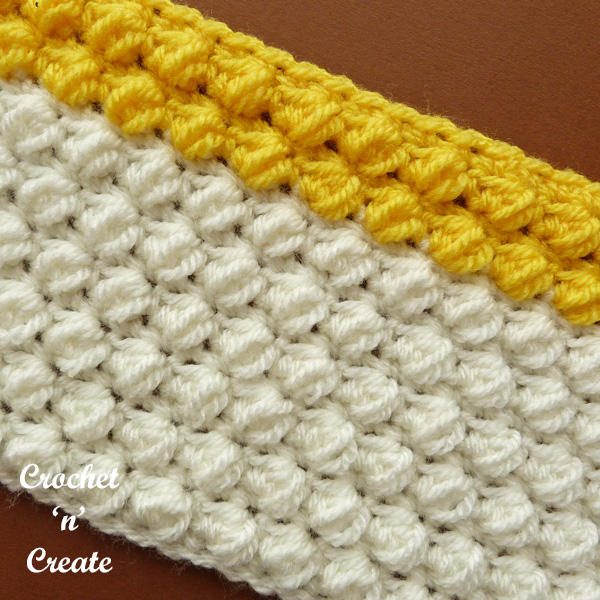
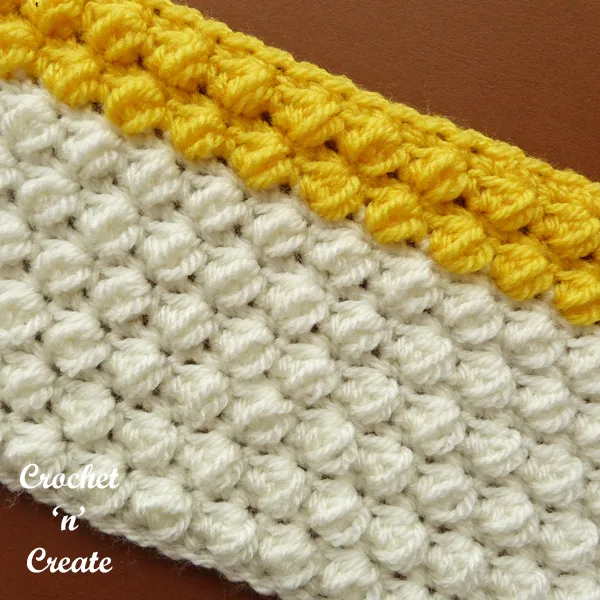
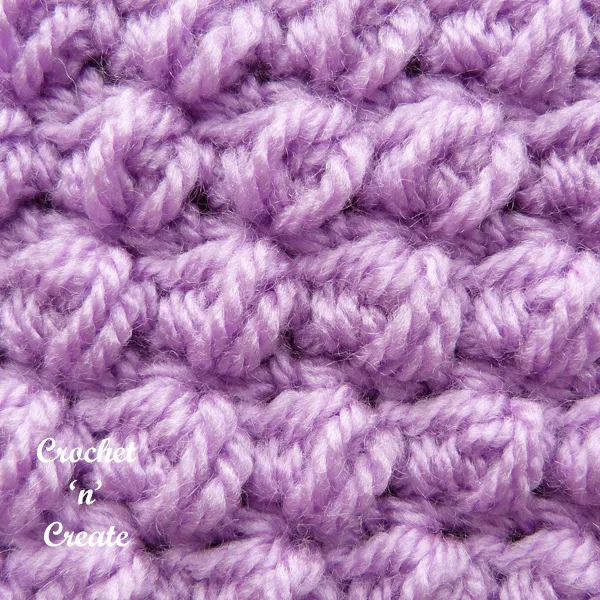
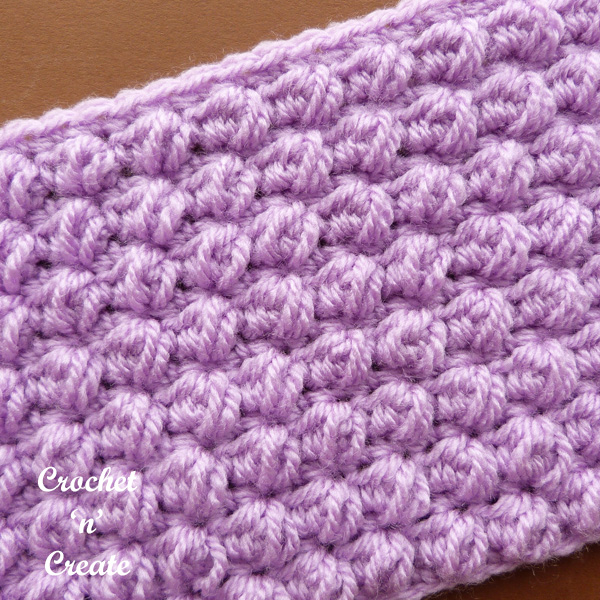
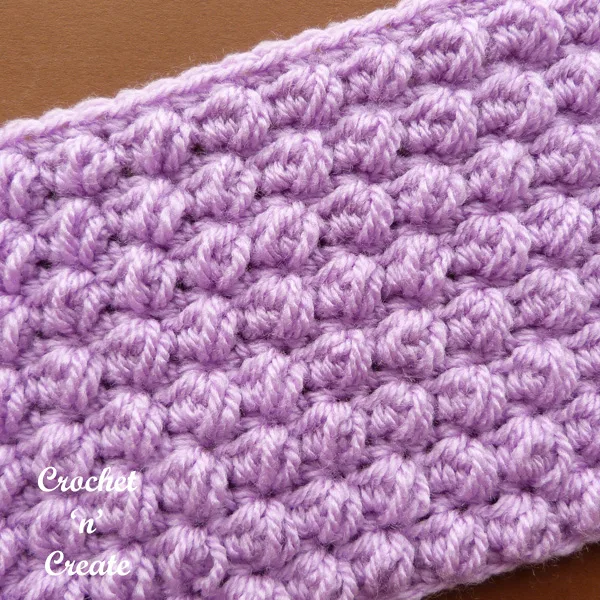
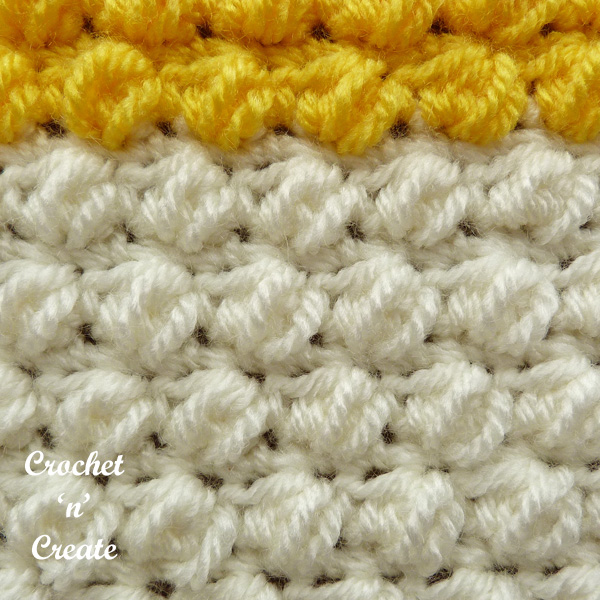
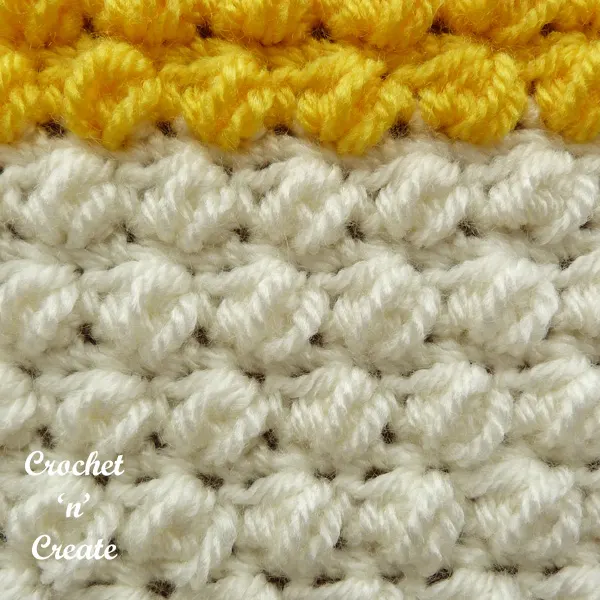
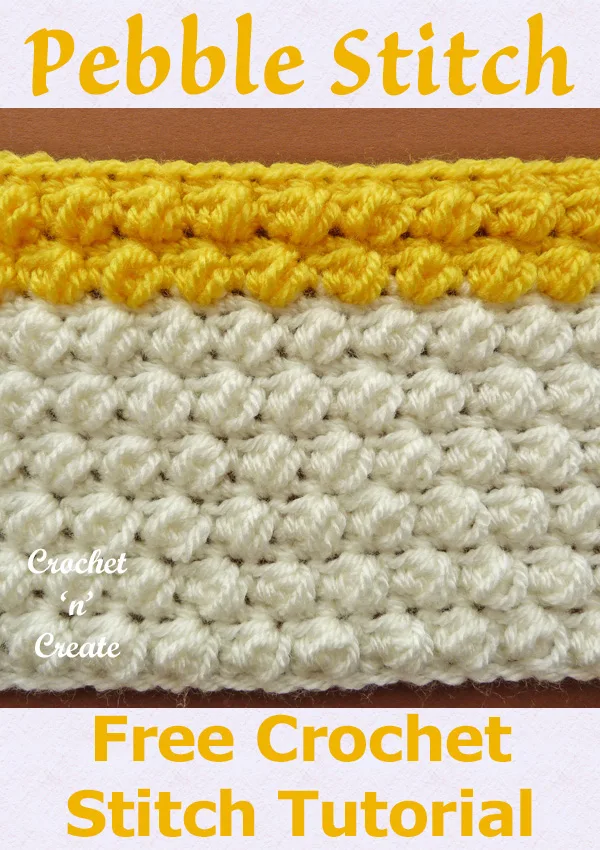
Pebble Stitch Crochet Tutorial – Like the name suggests this stitch has a small bobbly effect that looks like pebbles, a sweet fun design that has a visual textured look and is worked over an easy 4 row repeat.

Disclaimer: This site contains affiliate links. If you make a purchase after clicking on an affiliate link, I may receive a small commission (at no extra expense to you)
* * * *
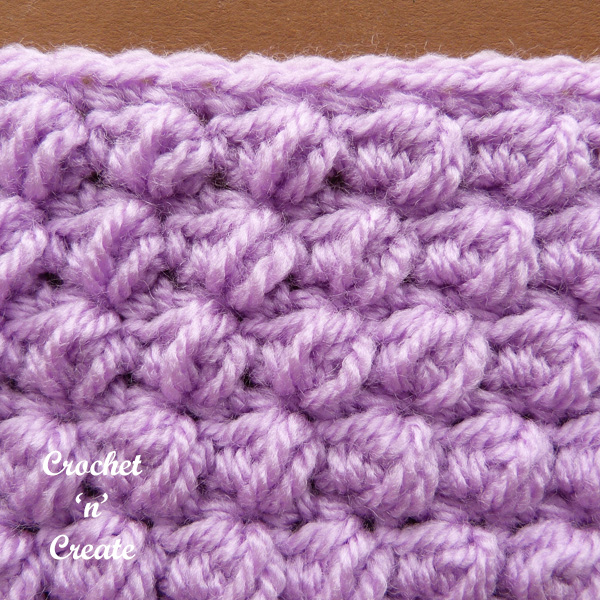

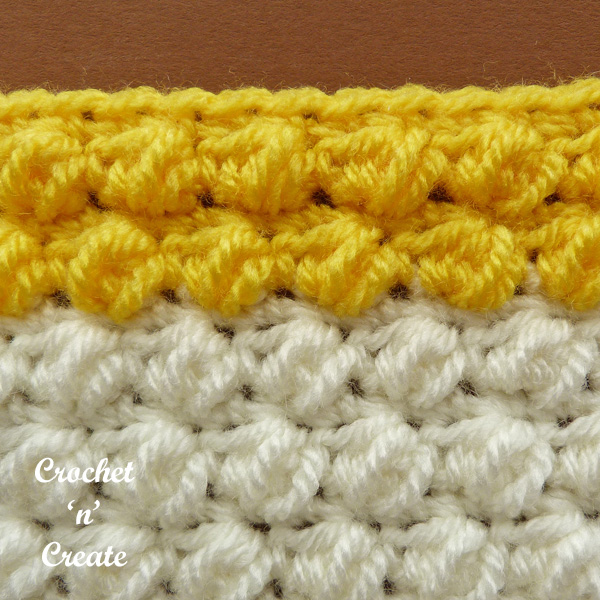
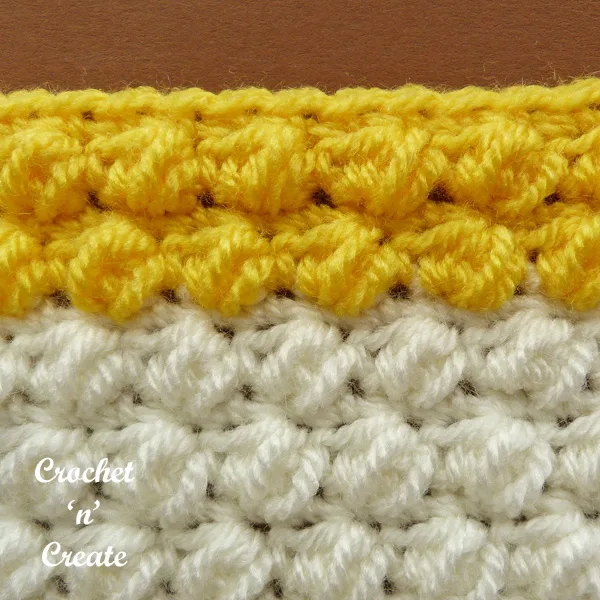
The materials used for the samples were Paintbox Simply DK yarn in color Tea Rose, Champagne White and Buttercup Yellow
using a 5.00mm Clover crochet hook
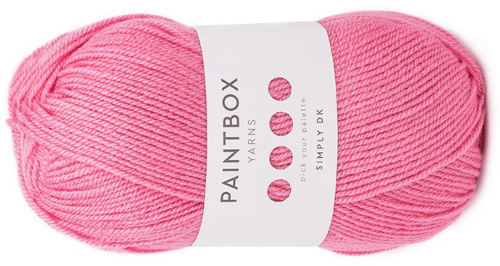
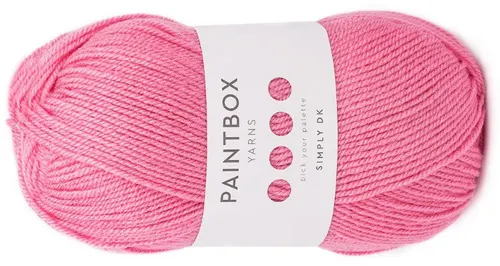 Substitute yarn would be Lion Brand Baby Soft
* * * *

See more of my free crochet stitch tutorials.
![]()
![]() * * *
* * *
If you enjoy learning how to crochet new stitches and would like me to write more free crochet tutorials, please share a link to this post on your Facebook and Pinterest
* * * *
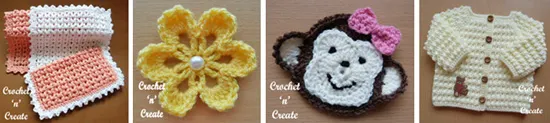
Find all my FREE crochet patterns HERE

 * * *
* * *
Pebble Stitch Crochet Tutorial
Abbreviations USA
RS. Right Side
WS. Wrong Side
ch. chain
sc. single crochet
rpt. Repeat
yo. Yarn Over
PS. Puff Stitch
* yo, insert in stitch and pull up loop, * rpt from * to * twice, yo pull through 7 loops.
Base of ch. Work in first stitch
Make a chain length in multiples of 4 + 2
1st Row – (RS) 1sc in 2nd ch from hook, 1sc in each to end. Turn.
2nd Row – (WS) ch1, 1sc in base of ch1, * ps (see abbrev) in next sc, 1sc in next sc, * rpt from * to * to end. Turn.
3rd Row – ch1, 1sc in base of ch1, 1sc in each ps and sc to end. Turn.
4th Row – ch1, 1sc in base of ch1, 1sc in next sc, * ps in next sc, 1sc in next sc, * rpt from * to * to last sc, work 1sc in sc. Turn.
5th Row – Rpt the 3rd Row.
Rpt 2nd to 5th Rows to your desired length.
* * * *
See more free crochet stitch tutorials:-
hdc Wrap – Loops & Groups – Parquet Stitch
Textured Groups – Scallop – Coastal Wave
hope you enjoy all the instructions, happy crocheting!
* * * *
Abbreviations UK
RS. Right Side
WS. Wrong Side
ch. chain
dc. Double crochet
rpt. Repeat
yrh. Yarn Round Hook
PS. Puff Stitch
* yrh, insert into stitch and pull up loop, * rpt from * to * twice, yrh pull through 7 loops.
Base of ch. Work into first stitch
Make a chain length in multiples of 4 + 2
1st Row – (RS) 1dc into 2nd ch from hook, 1dc into each to end. Turn.
2nd Row – (WS) 1ch, 1dc into base of 1ch, * ps (see abbrev) into next dc, 1dc into next dc, * rpt from * to * to end. Turn.
3rd Row – 1ch, 1dc into base of 1ch, 1dc into each ps and dc to end. Turn.
4th Row – 1ch, 1dc into base of 1ch, 1dc into next dc, * ps into next dc, 1dc into next dc, * rpt from * to * to last dc, work 1dc into dc. Turn.
5th Row – Rpt the 3rd Row.
Rpt 2nd to 5th Rows to your desired length.
* * *
![]()
![]()

Happy crocheting!


*****************************************************************

The written instructions and the pictures for the pebble stitch crochet tutorial are copyrighted to crochet ‘n’ create © 2019.
You are welcome to sell any of your finished products made from the pebble stitch crochet tutorial, I just ask that you please use your own pictures and put a link back to crochet ‘n’ create.
If you wish to tell your friends and followers about the pebble stitch crochet tutorial, please can you only use the direct link to the page on crochet ‘n’ create.
DO NOT share any of the pictures or written instructions in this post.
* * * * * * * * * * * * * * * * * * * * * * * * * *
To PRINT the pattern only, highlight by clicking at the start of the pattern, hold the mouse down, scroll down and release at the end of the pattern.
Go to FILE, PRINT, (usually top left of browser) when your printer box appears choose selection in the page range.
OR
The easiest way is to copy your selection and paste into a text program (ie, word, notepad etc) it may need tiding up, then print.