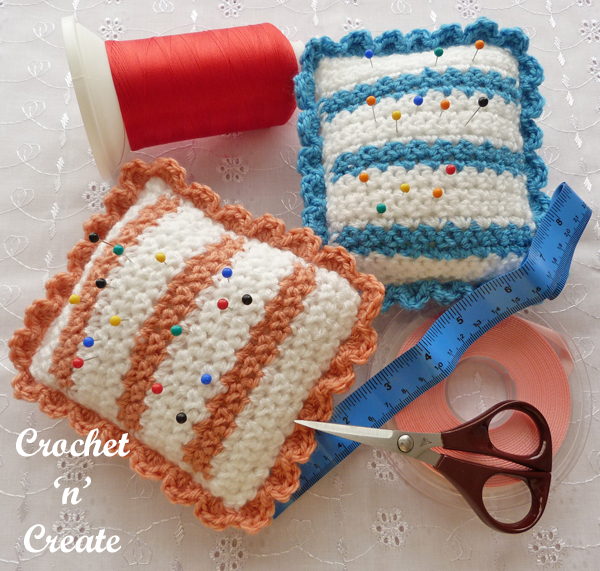
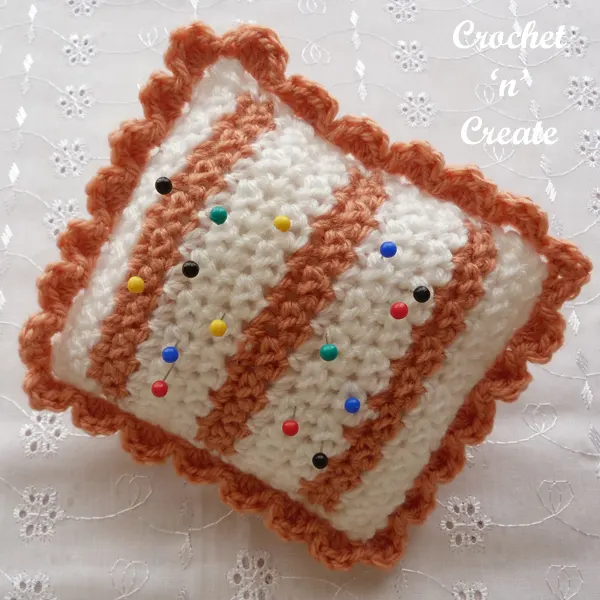
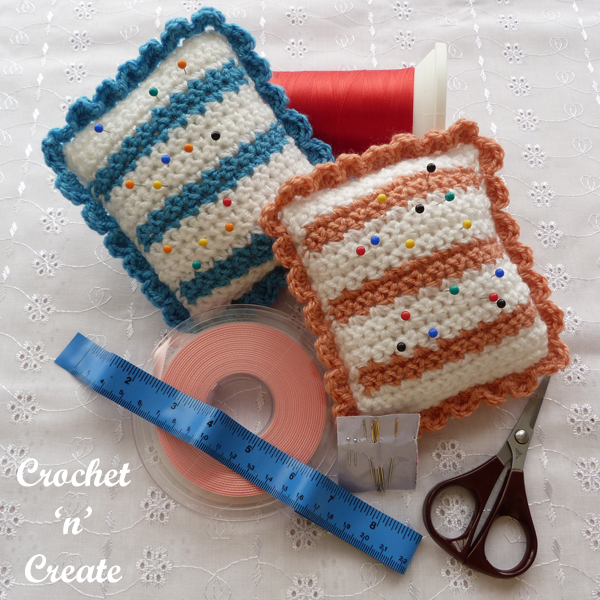
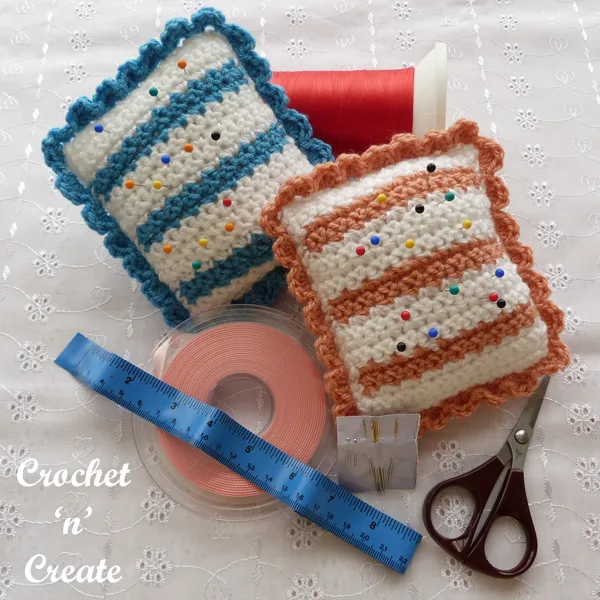
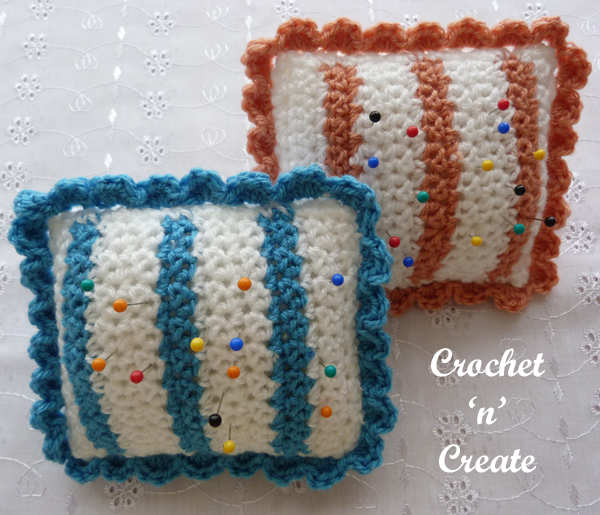
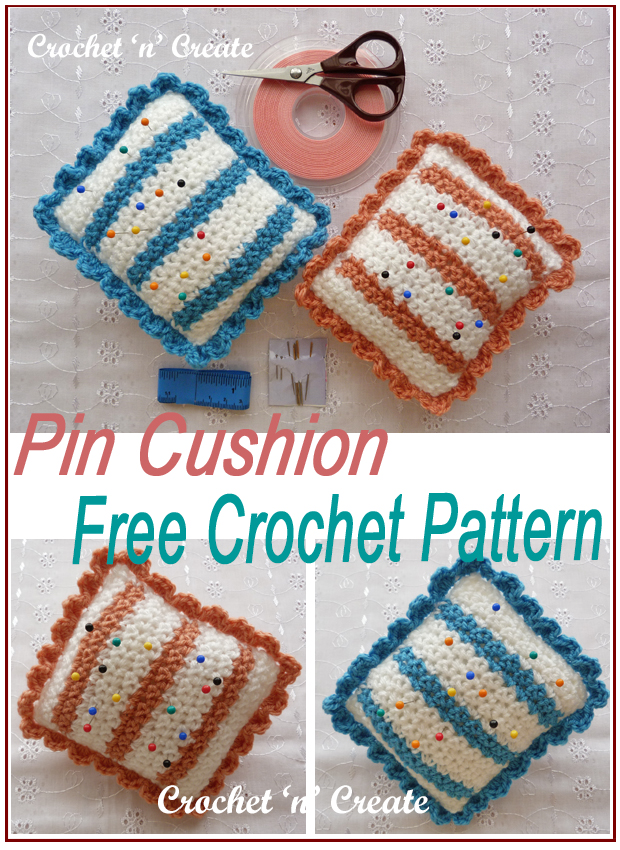
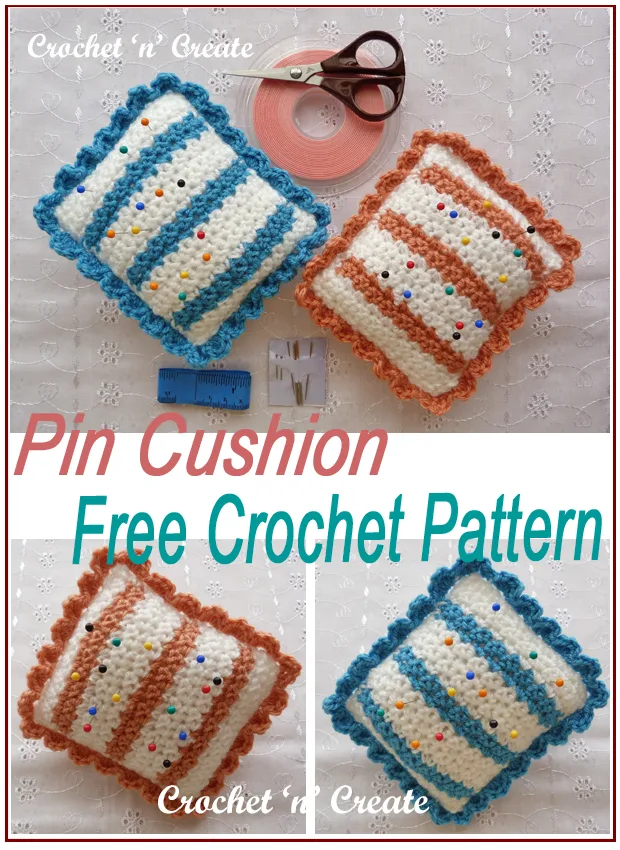
Crochet Pin Cushion – There is nothing nicer than receiving a home made gift, this sweet little pin cushion is ideal for that, make for family, friends and colleagues.

Disclaimer: This site contains affiliate links. If you make a purchase after clicking on an affiliate link, I may receive a small commission (at no extra expense to you)

Scroll down to get the free crochet pattern in UK and USA format.

Follow me on Facebook and Pinterest

* * * *
Scroll down the page for the FREE pattern
* * * *

SEE MORE FREE CROCHET PATTERNS
FOR THE HOME

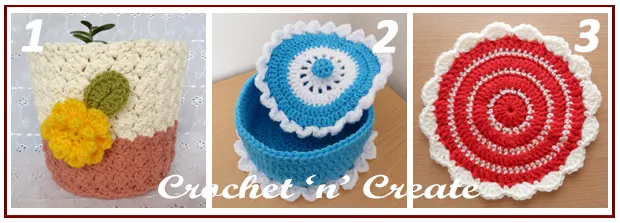
1. Plant Pot Cover / 2. Trinket Box / 3. Plant Pot Mat
Crochet Pin Cushion UK
Pattern Number P85
Scroll down the page for the USA format
Abbreviations UK
WS. Wrong Side
RS. Right Side
ch. Chain
dc. Double Crochet
tr. Treble Crochet
rpt. Repeat
ss. Slip Stitch
3ch counts as first tr
Approx Finished size: 5 x 5 Inches including the frill edge
Materials
50 grams of Paintbox Simply DK yarn in colour 1
Oddment of Paintbox Simply DK yarn in colour 2
TENSION – 5dc and 5 rows of dc measures approx 1 inch square
********************************************************************
Made in one piece.
With colour 1 make 20ch loosely, work 1dc into 2nd ch from hook, * miss 1ch, 2dc into next ch, * rpt from * to * to end. Turn. (19dc)
Pattern Row – 1ch, 1dc into base of 1ch, * miss 1dc, 2dc into next dc, * rpt from * to * to end. Turn.
Rpt Pattern Row twice more. Fasten off.
# # Join in colour 2 and work Pattern Row twice.
Fasten off. Join in colour 1 and work Pattern Row four times.
Fasten off. # #
Rpt from # # to # # once.
Join in colour 2 and work Pattern Row twice.
Fasten off. Join in colour 1 and work Pattern Row twice.
Working into back loop of stitch only work Pattern Row once, (this creates the back and front)
Working through both loops from now on, work Pattern Row once.
Fasten off.
Rpt from # # to # # three more times, working 3dc (not 2dc) into last dc, do not turn at the end of the row.
Edging – Work 1dc into each row end down first side of cushion, 3dc into corner, 1dc into each ch along starting chain edge, 3dc into corner, 1dc into each row end up second side of cushion, 1dc into corner, ss to first dc on beginning of row. Turn.
Fasten off. Join Colour 2.
Frill Row – Working in front loop of dc only, make 3ch, (1tr, 1dc) into base of 3ch, * miss 2dc, (1dc, 3tr, 1dc) into next dc, * rpt from * to * down first half of cushion to 2dc before loose loops that you created earlier, (when you worked into back loops) miss 1dc, work (1dc, 3tr, 1dc) into next dc, work (1dc, 3tr, 1dc) into first loose loop, (this makes the corner), rpt from * to * along remaining loose loops to last 2 loops, miss 1dc, work (1dc, 3tr, 1dc) into next dc, rpt * to * working into front loops only to last 2dc on second side of cushion, miss 1dc, (1dc, 3tr, 1dc) into next dc, rpt from * to * in front loop only along top of cushion to last 3dc, miss 2dc, (1dc, 1tr) into last dc, ss to top of 3ch. Fasten off.
Finishing and Joining front to back – Fold in half so WS is facing, making sure that the frill is pushed into the RS.
Working through the back loop on front edge, (side with frill attached) and starting from the fold, ss both the edges together along three sides of cushion, leave approx 8 stitches un-worked for stuffing at the end, fasten off, leaving a length of yarn.
Turn through to RS, poke out corners with your hook, fill pin cushion generously with a suitable filling ie. kapok or cotton wool etc, with length of yarn left earlier whip stitch open gap to close.
Sew in and tie off any other loose ends of yarn.

* * * *
See more free crochet patterns for around the home:-
Alpine Cushion Cover – Little Boxes Bookmark – Wine Bottle Cover
Dainty Bookmark – Hand Towel – Organizer Basket – Tissue Box Cover
Picot Peaks Plant-Pot Mat
hope you enjoy all the designs, happy crocheting!
* * * *
Crochet Pin Cushion UK
Pattern Number P85
Abbreviations USA
WS. Wrong Side
RS. Right Side
ch. Chain
sc. Single Crochet
dc. Double Crochet
rpt. Repeat
sl st. Slip Stitch
ch3 counts as first dc
Approx Finished size: 5 x 5 Inches including the frill edge
Materials
50 grams of Paintbox Simply DK yarn in color 1
Oddment of Paintbox Simply DK yarn in color 2
An equivalent yarn would be a light worsted #3
GAUGE – 5sc and 5 rows of sc measures approx 1 inch square
*******************************************************************
Made in one piece.
With color 1 ch20 loosely, work 1sc in 2nd ch from hook, * skip 1ch, 2sc in next ch, * rpt from * to * to end. Turn. (19sc)
Pattern Row – ch1, 1sc in base of ch1, * skip 1sc, 2sc in next sc, * rpt from * to * to end. Turn.
Rpt Pattern Row twice more. Fasten off.
# # Join in color 2 and work Pattern Row twice.
Fasten off. Join in color 1 and work Pattern Row four times.
Fasten off. # #
Rpt from # # to # # once.
Join in color 2 and work Pattern Row twice.
Fasten off. Join in color 1 and work Pattern Row twice.
Working in back loop of stitch only work Pattern Row once, (this creates the back and front)
Working through both loops from now on, work Pattern Row once.
Fasten off.
Rpt from # # to # # three more times, working 3sc (not 2sc) in last sc, do not turn at the end of the row.
Edging – Work 1sc in each row end down first side of cushion, 3sc in corner, 1sc in each ch along starting chain edge, 3sc in corner, 1sc in each row end up second side of cushion, 1sc in corner, sl st to first sc on beginning of row. Turn.
Fasten off. Join Color 2.
Frill Row – Working in front loop of sc only, ch3, (1dc, 1sc) in base of ch3, * skip 2sc, (1sc, 3dc, 1sc) in next sc, * rpt from * to * down first half of cushion to 2sc before loose loops that you created earlier, (when you worked in back loops) skip 1sc, work (1sc, 3dc, 1sc) in next sc, work (1sc, 3dc, 1sc) in first loose loop, (this makes the corner), rpt from * to * along remaining loose loops to last 2 loops, skip 1sc, work (1sc, 3dc, 1sc) in next sc, rpt * to * working in front loops only to last 2sc on second side of cushion, skip 1sc, (1sc, 3dc, 1sc) in next sc, rpt from * to * in front loop only along top of cushion to last 3sc, skip 2sc, (1sc, 1dc) in last sc, sl st to top of ch3. Fasten off.
Finishing and Joining front to back – Fold in half so WS is facing, making sure that the frill is pushed in the RS.
Working through the back loop on front edge, (side with frill attached) and starting from the fold, sl st both the edges together along three sides of cushion, leave approx 8 stitches un-worked for stuffing at the end, fasten off, leaving a length of yarn.
Turn through to RS, poke out corners with your hook, fill pin cushion generously with a suitable filling ie. kapok or cotton wool etc, with length of yarn left earlier whip stitch open gap to close.
Sew in and tie off any other loose ends of yarn.
* * * *
All pattern sizing, yarn weights, gauges etc on this website are approx as everybody crochets differently. Every effort is made to ensure this pattern is correct, but I am only human so mistakes may be made, if you find one please let me know by e-mail on crochetncreate@btinternet.com
The written instructions and pictures for this crochet pin cushion free crochet pattern are copyrighted to crochet ‘n’ create © 2019. You are welcome to sell the finished products made from the crochet pin cushion free crochet pattern, I just ask that you please use your own pictures and put a link back to crochet ‘n’ create.
If you wish to tell your friends and followers about this pattern, please only use a direct link to the pattern page on crochet ‘n’ create. DO NOT share the written instructions for this crochet pin cushion free crochet pattern.