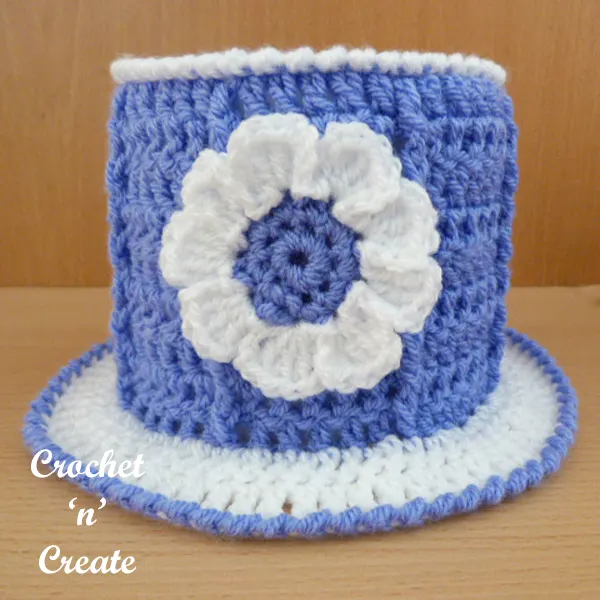
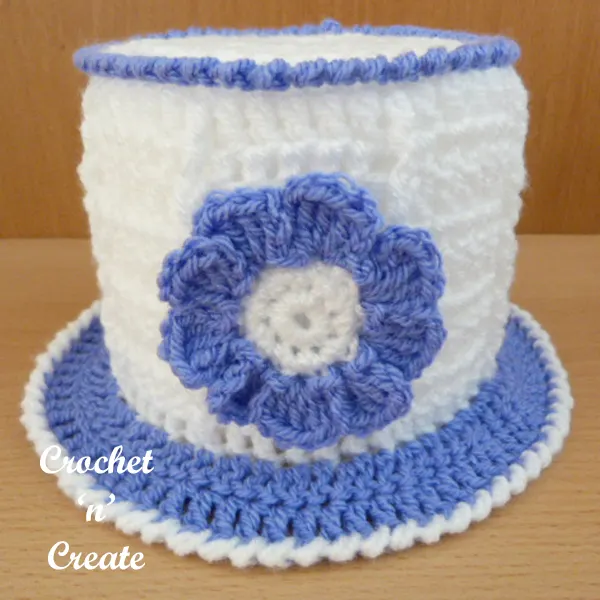
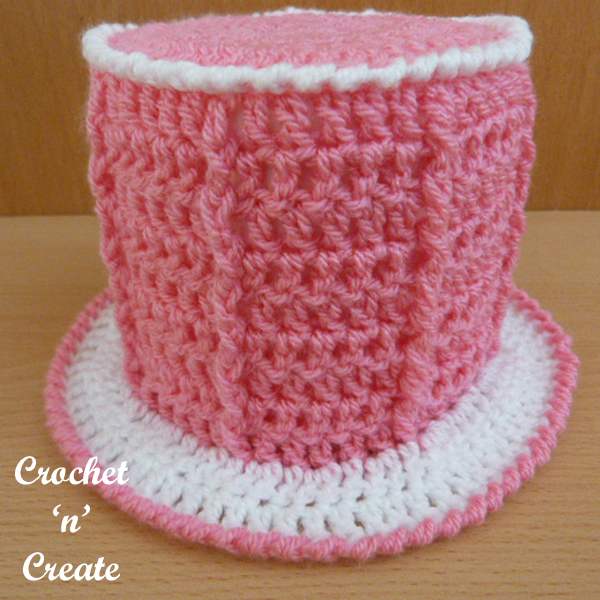
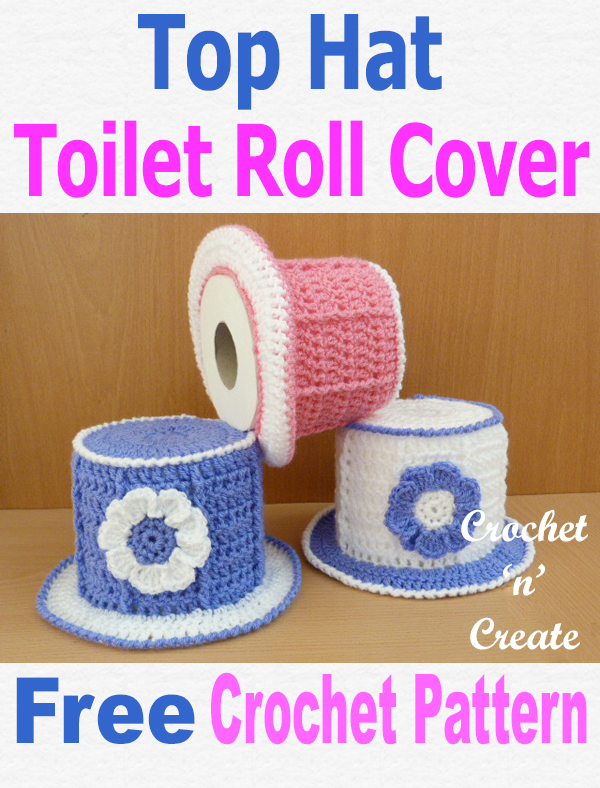
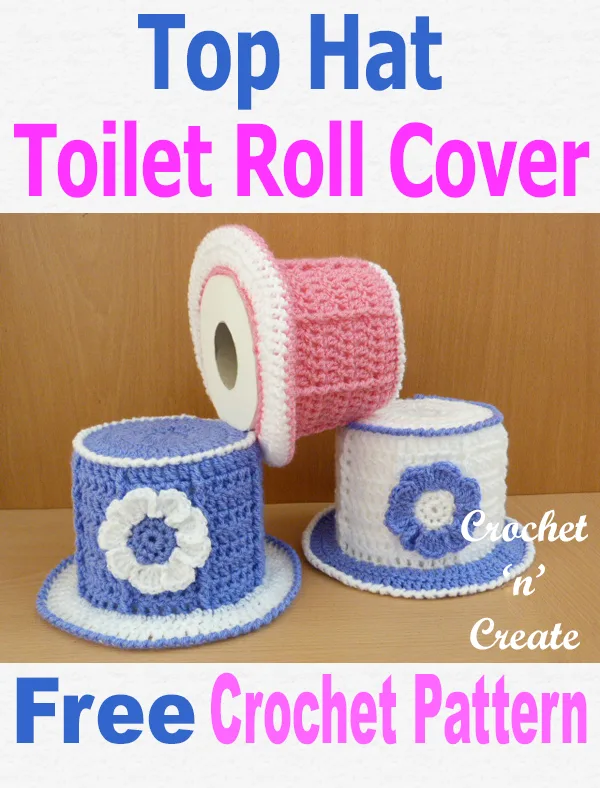
My free top hat toilet roll cover crochet pattern will brighten up your bathroom, these covers never seem to go out fashion and can always be found on show at fairs and fetes, I remember my Mum and Auntie making lots throughout the year for the local Christmas bazaar.
Hope you enjoy!


Disclaimer: This site contains affiliate links. If you make a purchase after clicking on an affiliate link, I may receive a small commission (at no extra expense to you)

* * * *

Please share a link to this post on your Facebook and Pinterest

* * * *
Scroll down the page for the FREE pattern
* * * *
* * * *
See more free crochet bathroom patterns:-
Travel Sponge Bag – Soft Washcloth – Bathtime Scrub
Ribbed Washcloth – c2c Washcloth
Sea Shell Set – Bathroom Washcloth – Spa Set
hope you enjoy all the designs, happy crocheting!
* * * *
Top Hat Toilet Roll Cover
Pattern Number CNC46
Abbreviations USA
RS. Right Side
ch. Chain
sc. Single Crochet
dc. Double Crochet
rpt. Repeat
sl st. Slip Stitch
Inc. Increase
DNT. Do Not Turn
fpdc. Front Post Double Crochet
Work dc around front post of the dc on row below
bpdc. Back Post Double Crochet
Work dc around back post of the dc on row below
Crab Stitch. Working from left to right, work single crochet stitch backwards. See Tutorial
Base of ch. Work in first stitch
Materials
I have used:-
30 grams of Stylecraft Special DK in color 1
7 grams of Stylecraft Special DK in color 2
OR an equivalent yarn would be:-
1.05oz of Worsted Weight #3 color 1
0.25oz of Worsted Weight #3 color 2
GAUGE – 4dc and 2.5 rows measures approx 1 Inch
***************************************************************
Make a magic circle, ch2, (RS) work 12dc in ring, pull loose thread to close circle, skip ch2, sl st to first dc on beginning of row. Turn. (12dc)
Row 2 – (Inc Row) ch2, 2dc in base of ch2, 2dc in each dc to end, skip ch2, sl st to first dc on beginning of row. Turn. (24dc)
Row 3 – (Inc Row) ch2, 2dc in base of ch2, 1dc in next dc, * 2dc in next dc, 1dc in next dc, * rpt from * to * to end, skip ch2, sl st to first dc on beginning of row. Turn. (36dc)
Row 4 – (Inc Row) ch2, 2dc in base of ch2, 1dc in each of next 2dc, * 2dc in next dc, 1dc in each of next 2dc, * rpt from * to * to end, skip ch2, sl st to first dc on beginning of row. Turn. (48dc)
Row 5 – Working through back loop of stitch only, ch2, (RS) work 1dc in each dc to end, skip ch2, sl st to first dc on beginning of row. Turn.
Work through both loops from now on.
Row 6 – ch2, 1dc in base of ch2, * bpdc (see abbrev) around next dc, 1dc in each of next 5dc * rpt from * to * to last 5dc, bpdc around next dc, 1dc in each of next 4dc, skip ch2, sl st to the first dc on the beginning of row. Turn. (8 bpdc)
Row 7 – ch2, 1dc in base of ch2, 1dc in each of next 4dc, * fpdc (see abbrev) around next dc, 1dc in each of next 5dc * rpt from * to * to last dc, fpdc around dc, skip ch2, sl st to first dc on beginning of row. Turn. (8 fpdc)
Repeat Rows 6 & 7 until 13 rows have been worked in all from the beginning. Fasten off.
Brim – Working in back loop of stitch only, join in color 2 to first dc, ch2, 2dc in base of ch2, 1dc in next dc, * 2dc in next dc, 1dc in next dc, * rpt from * to * to end, skip ch2, sl st to first dc on beginning of row. Turn.
Next Row – Working through both loops of stitch from now on ch2, 1dc in base of ch2, 1dc in each dc to end, skip ch2, sl st to first dc on beginning of row. Fasten off. DNT.
With RS facing Join in color 1, starting with ch1, 1sc in base of ch1, work 1 row of crab stitch (see abbrev) in dc’s around the brim, sl st to first sc on beginning of row. Fasten off.
Join in color 2 to loose loops you created when you worked Row 5, starting with ch1, 1sc in base of ch1, work 1 row of crab stitch around the cover in loose loops to end, sl st to first sc on beginning of row. Fasten off.
Finishing – Weave in all loose ends of yarn, attach motif to front of cover.
Thanks all, there will be another free crochet pattern coming soon.


***************************************************************
All pattern sizing, yarn weights, gauges etc on this website are approx as everybody crochets differently. Every effort is made to ensure this pattern is correct, but I am only human so mistakes may be made, if you find one please let me know by e-mail on crochetncreate@btinternet.com
The written instructions and pictures for this top hat toilet toll cover pattern are copyrighted to crochet ‘n’ create © 2017.
You are welcome to sell the finished products made from the free crochet top hat toilet roll cover pattern, I just ask that you use your own pictures and put a link back to crochet ‘n’ create.
If you wish to share this crochet top hat toilet roll cover pattern on social media or your blog please only use a direct link to the pattern page on crochet ‘n’ create.
* * * * * * * * * * * * * * * * * * * * * * * * * *
Patricia
Tuesday 27th of June 2017
Love love love Free patterns. Woohoo.
crochetncreate
Tuesday 27th of June 2017
Hope you enjoy Patricia.